Wreathing
I am not going to lie to you, wreaths make me go weak at the knees. There is a moment in early December that (if you spend any time on Instagram at least) you think you simply cannot bear the sight of another one. They are everywhere. On the front of Homes and Gardens and on the TV ads for supermarkets and frozen canapés. Enough with the wreaths.
And then one catches my eye and I catch my breath. They are usually the ones that are wilder than usual, or just a bit bolder. Ones that would poke a postman’s eye out. I covet the soft shagginess of the creations of Kirstie from The Wilde, possibly because they remind me of a benign Gruffalo. There are whole books written about wreaths; by far the best is Worm London’s ‘Wreaths’, although Studio Choo’s The Wreath Recipe Book’ comes a very close second.
Both these books cover wreaths around the year and there is some faffing about with trying to get flowers into twiggy bases, or planting succulents into moss. I know these can look terribly adventurous and all rather impressive, but you can keep your summer wreaths. The circles only come into their own in my mind when the year is on the turn. I want to be celebrating the circularity of the seasons, the seamless blending of darkness, through the longest night, into hope. I do not want a wreath on my door until December the 1st but when I am ready for it, my goodness, I want a corker of a wreath.
The full wreath
What you need:
I will expand on most of these things below, but just in case you need a shopping list, here it is.
· A copper wreath frame
· Hay or moss for wadding
· Reel wire or twine
· Secateurs
· Foliage, or dried flowers and grasses
· Ribbon
A copper ring
These have double circles to give width and body to your wreath. You can try with a single strand wreath but you will find that things spin round and it will drive you mad. There is a place for these and I am an absolute fan of my Aerende brass ring. It takes three pieces of grass, a dried strawflower and a length of ribbon and it looks a million dollars. I probably wouldn’t put it on the front door though.
You can get the wreath rings easily and cheaply online (Hobbycraft, The Range, eBay). I would direct you to your local florist but it is so dependent on lockdown and tiers as to whether any will be open. If you know any florists well though, they will probably have boxes and boxes full of them, so it is worth asking.
The size of the wreath frame does matter. Because I like super sized wreaths I always start with a frame that is big. This is a mistake, it means it will look out of proportion with your door. I would very much suggest going for a small frame (unless you live in a stately home or a barn conversion, 30cm diameter is about right, 36cm if you absolutely must).
Do not be seduced into buying a set of ten simply because it’s about the same price as buying one. These are almost infinitely reusable if you take them apart at the end of the season and you will not want a stack of nine hanging around in your house for the rest of your life. Take it from one who knows.
Wadding
Traditionally, something is wrapped and secured onto the wreath frame, although I am aware that some mavericks just wire their foliage straight on, which makes me winch a bit. The wadding does two things: it gives the wreath a lovely mounded, opulent shape, and it retains moisture around the cut stems of your foliage so that the wreath stays perkily longer.
For many people, this means mossing the wreath. I get it moss really does do all those things, but I have always been a bit nervous about where it comes from. Moss always seems a bit too ecologically important to be harvested in industrial quantities. Remember how peat ended? Sort of like that. Also, it is quite hard to get in small quantities and you’ll end up trying to open an account at a flower wholesalers at the beginning of December.
If you have moss in your lawn, by all means rake it up. Leave it for a little while for the insects to crawl out (and I can’t promise you they’ll be in a hurry to leave…) and then go for it.
But if you don’t want to do this, what is the sustainable solution? Hay.
In my dreams, I inhabit a sort of endless Jilly Cooper novel and the scent of hay gladdens my heart. If you don’t have a friendly local farmer or stables (and you don’t need a lot for a single wreath, certainly not even a small bale), then can I suggest you pop to a pet shop? A bag of best Timothy hay destined for rabbits and guinea pigs makes for the perfect wadding.
Foliage
Generally, you can go one of two ways, evergreen or dried. What I would say though is that evergreen wreaths don’t find being inside much fun because the air is usually too dry and the temperature too warm. Wreaths made totally of dried material will not thank you for being exposed to the elements and they will generally disintegrate fast if they get wet or the weather is windy. So many start with where you want to put the wreath, and go from there.
If you are going for foliage then some generous conifers will be good for getting a good amount of bulk into the wreath, but do try and go for a variety of things. If you go through some pictures of wreaths you have really liked, this will give you an idea of how much variety you like. Just one variety with maybe a single addition of cones or texture can be really simple, calming and elegant. Olive foliage or eucalyptus if you want to be achingly cool. I’m really not sure that is entering into the spirit though.
A real hodge podge mix of textures and tones can be really striking and dramatic. It’s what does it for you.
I don’t mean to be a snob, I promise I really don’t, but just a few of one thing and a few of another thing and some orange slices and a pine cone and you have something incredibly mainstream and pedestrian. Please do go one way or the other.
Also, oranges go mouldy if they are on an outdoor wreath because of the dampness in the air. On the upside, the birds enjoy eating them.
How much foliage?
Ah yes. Not always the easiest question to answer. I would forage more rather than less because you aren’t going to want to stop and go out foraging again once you’re actually wreathing. Mostly because I am expecting it to be a long winter evening and for you to be at least three mulled wines up by the time you get to the end of your bundles. If you get two really solid branches (say three foot or so) of conifer and lots of other bits, you should be fine.
You want to know the best cheat for an abundant wreath? Go to a nursery, farm or garden centre that sells Christmas trees and ask for some offcuts. You can probably fill your car boot with spruce and this will form the base. All you need to do now is get a few really special bits to add, and you’re there.
My favourite foliages for wreaths
Spruce
Juniper
Ivy (berries and strands)
Holm oak
Larch
Scots pine
Anything twiggy – beech
Bay
Rosemary
Thyme
Foraging
The usual advice applies; only forage where you have permission, don’t take too much, treat the plants or trees with respect.
Freestyling vs bundling
If you would like to add lots of difference stems to your wreath and work with many textures, can I suggest you bundle?
This simply means creating little bundles of foliage, backed with a flat wide piece of foliage and then a good mix some of your other bits on top. Some wispy, some flat, some round. Tie the stems at the base and you suddenly have something that looks rather than a giant’s buttonhole for a winter wedding.
Repeat. You can make all the bundles the same if you would like a wreath that looks similar all the way round. I am a fan of a bit of variation, and a bit of contrast mixed in.
I always do fifteen bundles, and then run out. If you push the bundles up against each other quite a lot (and I suggest you do) you will get a lovely bushiness, but you will get through quite a lot of bundles. It’s fine though, you can pause and do some more. Or revert to freestyling and just tucking bits in. I have been known to do that too.
What else?
Reel wire. Order or buy this when you get your wreath ring, as the same places will also stock this. If you are committed to composting the whole thing in January, you can use a roll of string (and I often do). It’s easier on the hands but you never get quite the same tension so your wreath may be a bit more wayward. And if may be none the worse for that.
I sometimes use gold wire This is excessively extravagant, and I am only doing it because it shows up better in the photos so you can see what I am doing.
Secateurs. Probably not your best Niwaki snips for this one. Evergreen branches can be tough and, worse than that, some exude a very sticky sap and you will clog up your snips otherwise. (Wear gloves if you are sensitive.)
Step by step wreathing
Forage, harvest, or collect ingredients and have them all to hand.
Go over the ingredients list again. Have you got everything? Put a sheet or a dustsheet down if you are precious about your carpets because you are probably going to get hay and larch cones everywhere.
Tie the end of your wire to the wreath frame. I’m sure there is a knack to this but I’m not sure what it is, just keep twisting the wire around one of the joins until it feels like it is securely attached.
I find it easier to tip the hay into a box or trug. Pull out handfuls and hold them onto the frame. Wrap the wire around the hay. Pull the reel through the middle of the frame. Repeat, adding handfuls of hay and moving the wire along a bit every handful. You will take a few goes to get the tension right and to feel how much to move the wire along each time, but once you hit your stride, you’ll be flying. Remember, it doesn’t have to perfect. No one is ever going to see this bit.
Put the wreath to one side if you are going to bundle. Don’t cut the wire. Make sure you have your bits ready if you are going to freestyle.
Prepare your bundles and line them all up.
Lay the first bundle flat on the wreath. The stems should be flat on the moss, preferably covering it. If you have narrow bundles (or wide moss) alternate them twisting in and twisting out so the coverage is a bit wider. Wrap the reel wire over the stems a few times to really secure the bundle.
Take the second bundle, or the second piece of foliage. Lay it flat on the wreath so that the tip of it covers the stems of the last.
Top tip: How much overlap you have will determine how thick your wreath is. Only just overlapping will give you a slightly Georgian elegance. Only just not exactly on top of each other will give bulk. I know which I prefer, but it really is a matter of taste.
Repeat and repeat and repeat. Always going backwards, covering the stems of the last with the tips of the next. Keep the wire quite tight.
Top tip: We all wreath flat on a tabletop and it looks perfect. Then we get to the end and hold it up to admire. The bundles twist, it looks super wonky, and you suddenly realise you can see lots of wire and the moss in the middle. Make sure you hold it up every so often during the making so you can see if you need to wire tighter, overlap more, or alternate how the bundles are facing towards the outside and towards the inside.
When you get to the end, you might need to wriggle a bundle underneath your very first one. This bit is always a bit tricky but its worth taking the time to get right. If it still looks a bit gappy, tie your ribbon over this bit and no one will even know.
Hang with string and hang a ribbon off, or use the ribbon itself as the hanging point.
Top tip: You’ve got to the end and held it up. One side is much heavier than the other because you ran out of bundles and so the last half had them spaces further apart. Don’t worry. Hold it up (better still hang it on a nail and take a photo, the human eye is so unhelpfully forgiving…) If you turn the wreath so the heavy half is lowest, and the thinnest half uppermost, if will suddenly look intentional and balanced. Hang a ribbon off the mid point of the heavy bit and everyone will think you are a genius.
Break the rules
Now you’ve had a read of the rules, you’ll know all there is to know. Which means you can start breaking the rules.
Rule to break: always going backwards
If you aren’t going to cover the whole of the wreath, you can take a starting point and put a few bundles pointing clockwise, then go back to the starting point and head up again in the anti-clockwise direction. Leave much of the wreath ring bare. Think Caesar’s laurel wreath in Asterix. Not always my favourite look and I would suggest slightly smaller bundles or more delicate foliage for this. There is an unfortunate tendency to resemble a moustache otherwise.
Rule to break: cover the whole wreath
If you use a lovely base, then you don’t have to go all the way round. I have some rusty mild steel bars that have been bent into circles (you need a very big pot and some serious muscle) which look amazing if you have the wall space. The fine brass rings that seem to be everywhere at the moment also look lovely. If you have lots of climbers and vines in your garden, then making a base wreath out of this can look wonderful. More on this below.
Finishing up
The hay needs to be dampened in order to provide the foliage with a supply of moisture. You can just dip the base in the sink with an inch or so of water in it but this does get it very wet and I do worry about my elm front door. I tend to wait for rain and leave it out in the front garden, foliage down, for a few hours and I think that is the perfect amount of moisture. (This also works well if your wreath is starting to look a bit limp. It won’t rejuvenate a crispy wreath, but it will improve the life of an evergreen wreath if you regularly give it a bit of a water.)
I have just realised that I have to put my wreath in the front garden to get rained on because my front door is covered with a deep thatch overhang. I suppose if your wreath is exposed to the elements, it’s getting moisture anyway.
If you have a genuinely precious door and you are concerned about any possibility of marking at all then then you can line the inside of the hay or moss with some biodegradable plastic. Caddy liners are perfect.
The woven wreath
This is a sort of middle ground between the full-on foliage event described above, and the oh my god bodge wreath below.
You will need long, bendy things. Bendier than hazel, thinner than willow[1]. Grape vines are perfect but if your garden is a little less exotic, birch is also excellent, as is clematis. I keep an akebia (chocolate vine) for just this purpose. If you are really struggling for anything long and twisty, some quite thick strands of ivy with do it.
Lay the strands out in a line but without all the beginnings and ends lined up exactly. They make the ring quite uneven if they all start and finish at the same spot. Bend them round and loop one end through the other. Pull just enough so the circle is how big or small you want it to be. You can keep wrapping the ends round the wreath if you like (this works best with birch, or anything where there are a lot of very thin strands) or just get a piece of string involved. I think these should be a little bit wild and foraged looking. There are plenty of shops selling very neat ones if you would prefer that look.
You can just stop there, and I have a wreath that moves around the house that is literally just a circle of vines. Sometimes it gets a bit of ribbon on for Christmas. Some weeks it hangs above the bed. Some months it has spent nailed to the studio door. It is currently hanging over the kitchen table.
However, if you would like to add a little more of a festive touch, then just make some bundles as described above, and use them to cover a third of the wreath. Any more and it’ll look like you ran out of time and just stopped, and less and it will look a bit stingy. The wiring on is a bit trickier because there is less to grip on to, so each bundle might need two wires to keep it sturdy. Just take your time and remember to keep holding it up. Better still, hang it up at eye level and add the bundles from there.
Unless you want to keep it really soft and natural, a bit of silk ribbon rarely goes amiss.
The last minute wreath
Also known as the ‘bodge’ wreath
I usually imagine that this one is for those awful moments when you realise the amount of time you have before your guests arrive has now shrunk to be less than the time you need to get everything ready. Maybe you spent too long on Pinterest trying to identify the absolutely perfect way of combining table linen and napkins. Maybe you stayed in bed eating smoked salmon drinking champagne. Maybe the dog was sick and the food delivery didn’t arrive or the boiler broke. Who knows, and I don’t suppose it matters this year so much because hardly any of us are going to be having that many guests anyway. But if you want a Christmas wreath in a hurry, this is what you need.
A little aside. I learned about these the hard way. A few years ago, I was running day long workshops at Mello View, and absolutely gorgeous Grand Designs house. It is owned by a chef and it has utterly glorious views over the hills, and there were cows and calves in the fields that come up to the garden. Some really quite famous florists had signed up to come, and some guests were coming from Paris. I was utterly petrified. I’d spent two days dressing the workshop area and preparing everything and it still didn’t look quite right. Maybe this was a projection of my own state of mind, but it still didn’t look quite enough. The morning of the first day, as I was driving down my track on my way to Mello View, I paused, cut as many stems of wild clematis as my secateurs could reach, pulled hard, and shoved the lot in the boot of my car. When I arrived, it came out a bit of a tangled mess but I wrestled it into some semblance of a circle with some string and I hung it, all four foot wide of it, over the main table. It was all anyone noticed when they came in. It was all anyone photographed. It was all anyone commented on.
Just sometimes, less is more. But I was picking fluffy seeds out of my car for months.
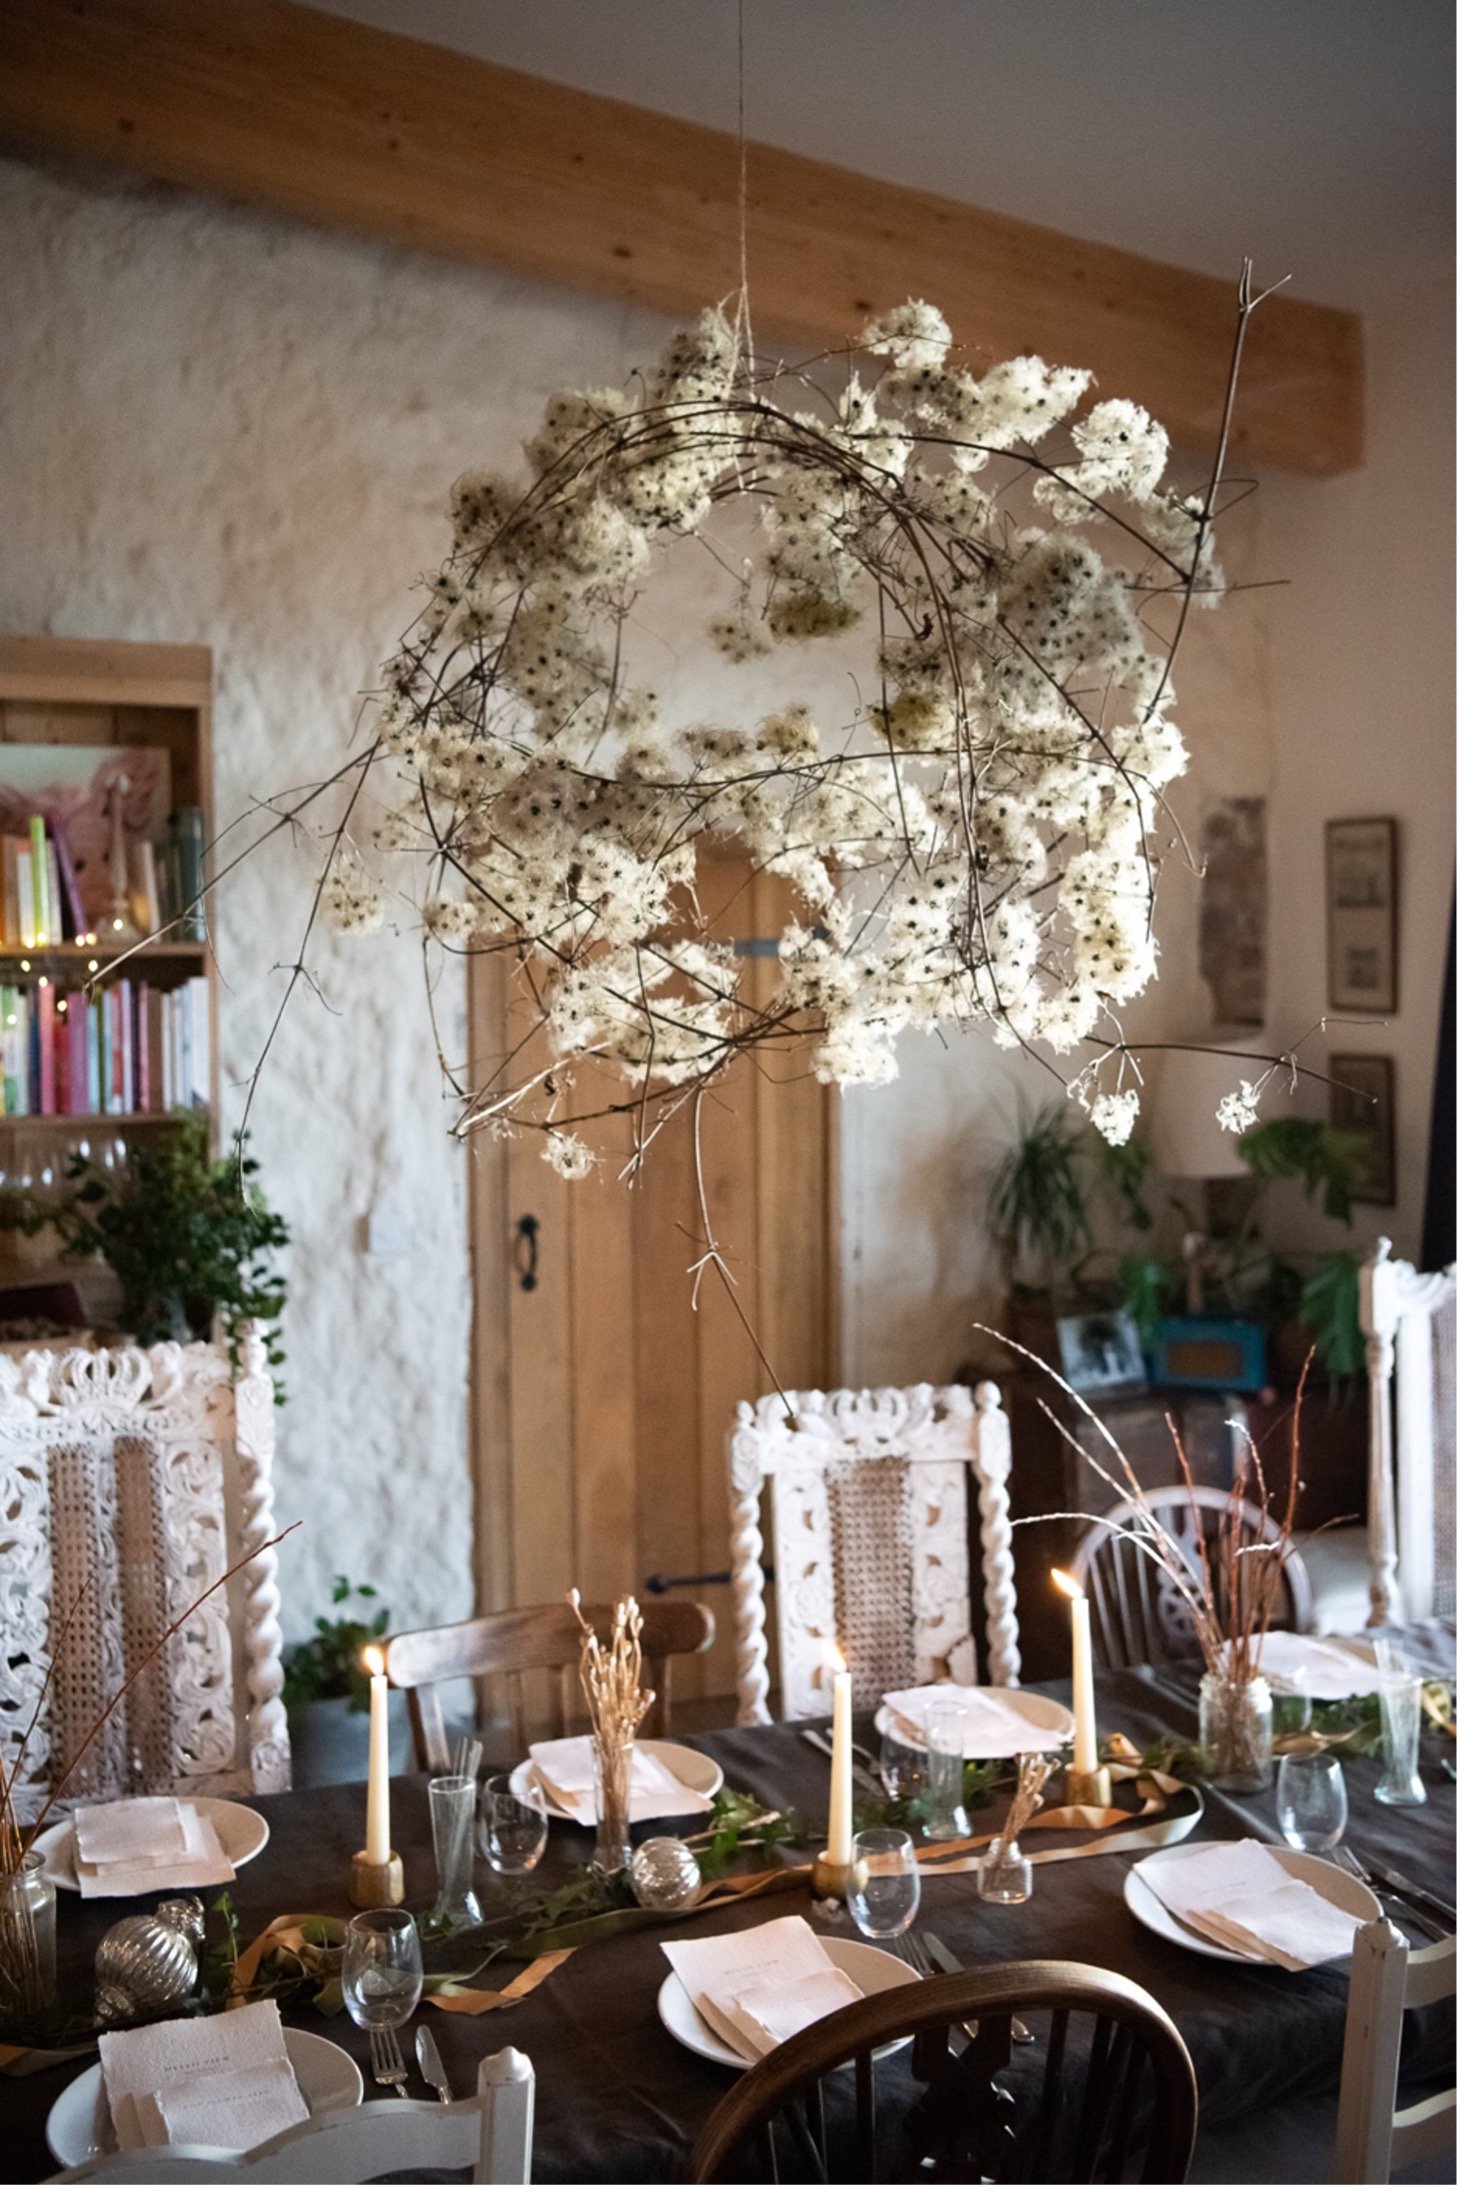
Photo by Humphrey and Grace.
A note on ribbons
The number of wreaths I have transformed from a bit ordinary to glorious is significant. My secret? Ribbon. There are a couple of ways of using it, and none of them include those organza wired things with glitter on the edges that make really stiff bows. Really thick ribbon (9mm+) is quite difficult to work with and really thin (5mm or less) can look a bit stingy. Save the former for putting round the cake and the latter for putting round presents wrapped in brown paper.
Tails. I love tails. Takes seconds and adds so much. Two slightly contrasting ribbons looks good too, and go as long as you dare. Cut the ribbon twice as long as you would like the tail. Either put the ribbons around the lowest point of the wreath (or a particular patchy bit that you would like to cover) and tie underneath. Pull the knot round a bit so that it is towards the back and the tails fall from where the wreath touches the door. Cut the ends of the ribbon on a diagonal so that they are very slightly different lengths.
Ribbons to hang. I think this looks really good with the plainer, simple wreaths. Just loop the ribbon round the top and fix the ribbon to your door. These often look best if the ribbon stays flat so it might be worth feeding the ribbon over the top of the door and fixing it onto the inside.